HMMM…the smell of homemade bread is just the best, isn’t it? But, seriously, homemade bread, the EASY way? Right! If you’re like me, we don’t have time to hang-out in the kitchen baking very often. When we do have the time, bread seems like an overwhelming task to handle. How long to rise? Is the water too hot? Am I kneading it long enough?
Well, I’m going to share a super easy and tasty recipe I learned from Mellissa K. Norris’s~Modern Homesteading. Melissa has a knack for making these ol’ fashioned recipes easy to follow. It’s a simple method for making an easy, sure-to-please, Artisan loaf every time.
PS: This one is so easy my “not quit 4 yr old grand daughter helped too!
Easy Homemade Bread: 101
I know baking bread can seem intimidating. After all, it’s an edible chemistry experiment and that might bring flashbacks to Chem 101 for some. I have made this recipe with different flours (organic White, Sprouted Wheat, half-and-half, etc) and it has turned out perfect each and every time. Here are a few tips to help you the first time or two.
- Use an instant-read thermometer to get water temp just right
- Invest in an enamel-coated, cast iron dutch oven or seasoned cast iron dutch oven
- Parchment paper will help in transferring the loaf in and out of the pan
- Store yeast in fridge or freezer to maintain freshness
- Using Apple Cider Vinegar helps improve texture since this is a no-knead recipe
- When storing dough in the refrigerator, keep the lid or cover loose
- The remaining dough can store in the fridge for up to 14 days (bread will rise less after about 10 days but still taste great)
No Knead-Rustic Artisan Bread
Makes 2 round, rustic loaves
- 1 1/2 T yeast
- 3 cups Water (115-120 degrees)
- 6-6 1/2 cups flour (reserve final 1/2 cup to use if needed)
- 1 1/2 T salt
- 1 1/2 T Apple Cider Vinegar (improves texture and taste)
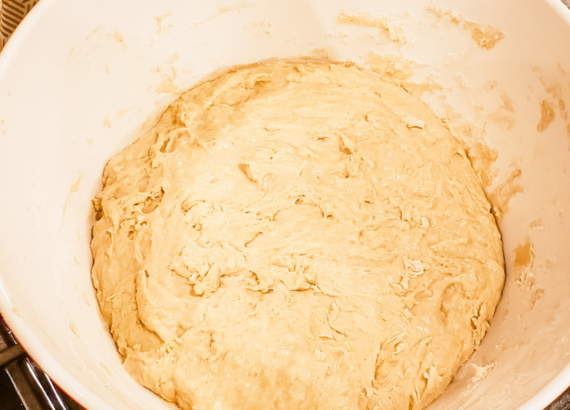
In a large bowl, add yeast and water. Stir to dissolve. Add in 2-3 cups of flour and stir together. Add the salt and apple cider vinegar and remaining flour. The dough will be a “wet” dough which means it’s too sticky to handle by hand but all flour should be incorporated.
Cover with a kitchen towel, beeswax wrap, or loose saran wrap and let the dough rise until doubled (2-3 hrs.) After rising, cover the bowl with a lid (don’t seal completely) and store it in the refrigerator for a minimum of 8 hours (max 14 days.) This storage time is important to help form the gluten since we didn’t knead it.
When ready to bake:
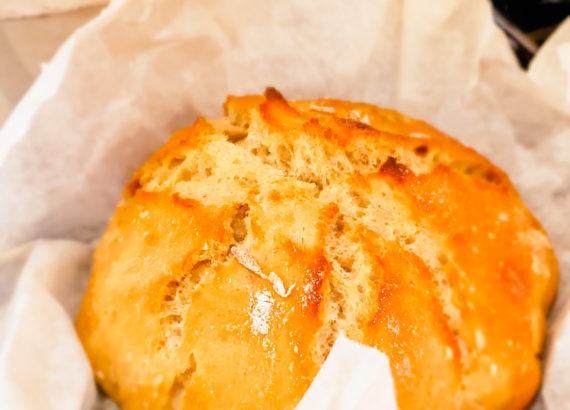
Heat oven to 450° for 30 min with Dutch oven inside. While the oven is heating, divide dough in half (no need to “punch down” or knead), layout on a floured surface. Using floured hands start to “scrap” around the edges of the dough and turn it slightly. This will start to create a little tension on the top of the loaf and make it smoother. Continue scraping until you have a nice round loaf. Place the dough on a square of parchment paper around 18″x18″. When the oven is heated, carefully remove the Dutch Oven and lower the loaf (on the parchment paper) into the pot. Using a pair of kitchen shears or a sharp knife, make a few cuts in the top of the loaf and cover.
Place the covered pot in the oven for 30 minutes. Remove the cover and let the bread bake another 5 min or until golden brown.
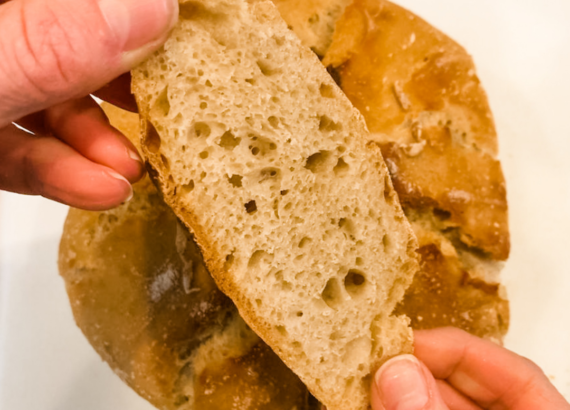
To maintain the structure of the bread (remember, it’s a chemistry project) let the bread cool about 1 hour before cutting.
Serve warm with real butter and a bowl of your favorite winter soup like this Good ol’Fashioned Chicken Vegetable. Don’t forget to add a wine pairing. This handy guide from Wine Folly will help you chose the perfect bottle.
Although, this has a little prep involved, don’t forget you have another loaf ready to go in the fridge!
I can’t wait to hear what you think.

with strength, focus and simplicity,

**I love sharing informative resources and must-have products with people like you who want to create a healthier, cleaner lifestyle, so naturally, my content may contain affiliate links for products I use and love. If you take action (i.e. subscribe, make a purchase) after clicking one of these links, I’ll earn a small sum which I promise to spend responsibly (lol)… All kidding aside, it’s my responsibility to let you know that an income (however small or large it may be) is made from recommending products I love, use, and share with other awesome people like yourself. Thanks for your support and for joining me on this Clean.Simple.Living journey!


